

When I was probably in early high school my brother played for me a really weird song by an alternative rock band called The Presidents of the United States of America. The song was called “Peaches“. Now every time I see actual peaches, the line “millions of peaches, peaches for me” plays in my head. I hate it and it makes me laugh at the same time. You can imagine that when I was faced with the task of peeling and slicing 65 peaches last Saturday, that song went through my mind a few times.
I can’t remember exactly when I started canning with my mom. Probably sometime in high school? Maybe before that? Canning tomatoes was always a big deal in the house, but I think the thing that really pulled me in was jalapeño jam… but I digress. Back to this Saturday and my 65 peaches.

You might be wondering where I got 65 peaches from. The answer is The Peach Truck. It comes around every now and again to bring us sweet juicy goodness from the south. We pay a ton of money and get delicious peaches because Ohio isn’t a great peach region…
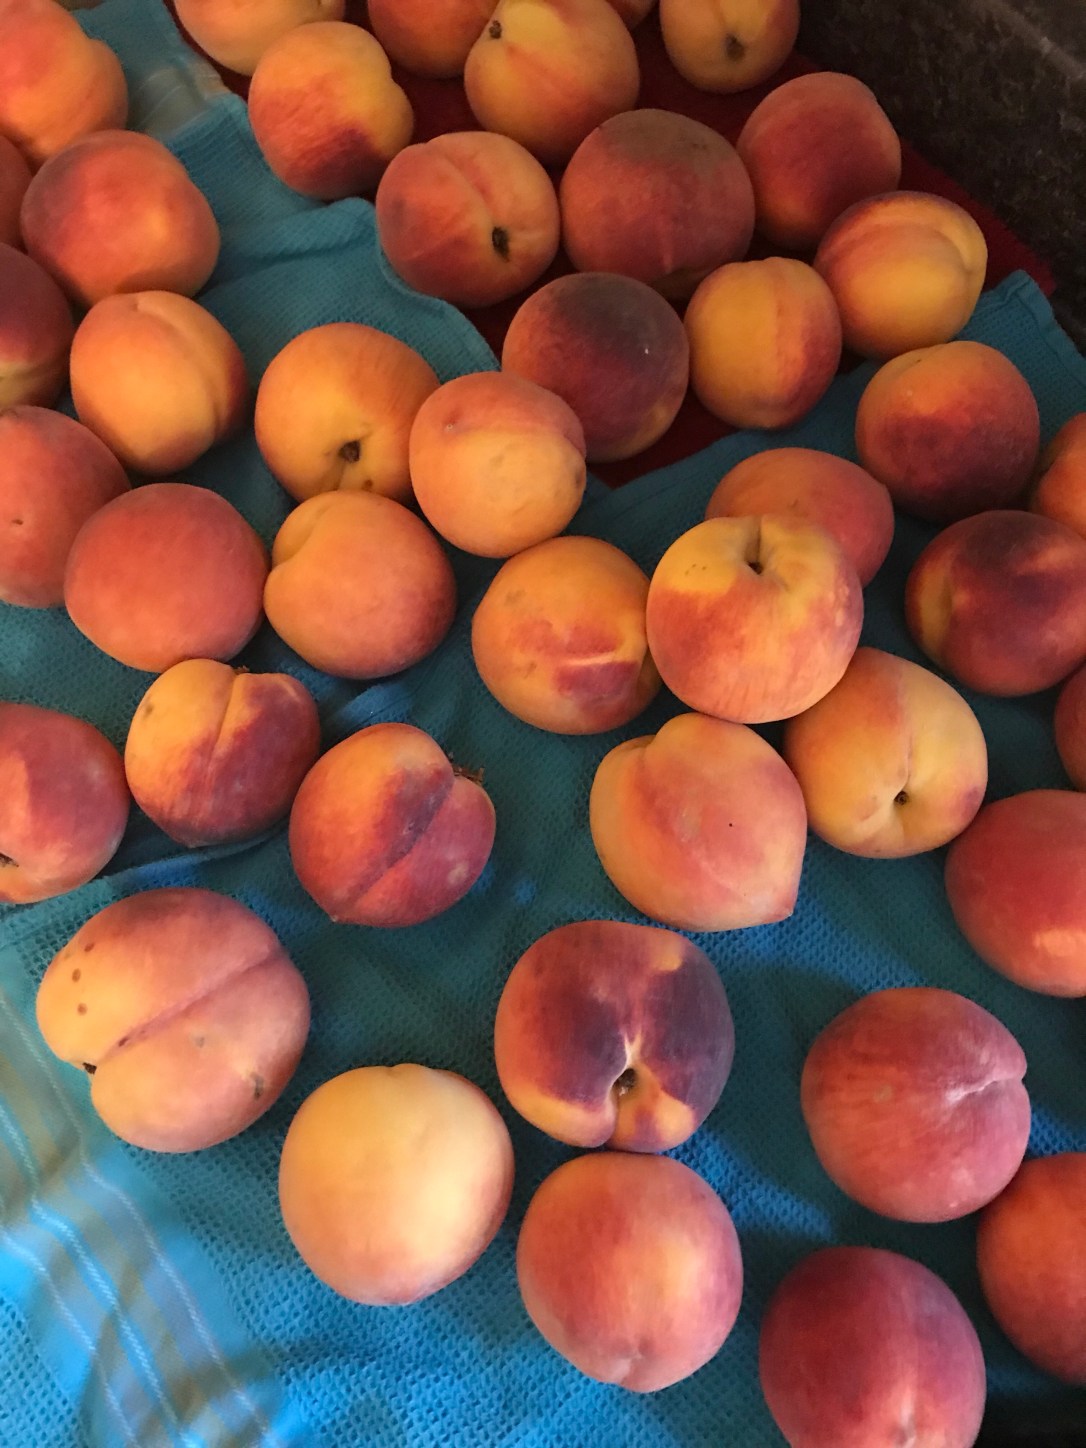
I decided that I would make two batches of delicious jam from these peaches and then freeze the rest. I used the peach jam recipe out of my Certo liquid pectin pack. So far, for basic jam and jelly recipes they have never steered me wrong! I recommend you follow their measurements for whichever jam you choose to make. Below I will walk you through the steps of making an amazing jam.
You will need:
- Mason Jars (about 8 pint jars for the peach jam recipe)
- canning lids and rings (to match the mason jars)
- Ingredients for your jam
- An enameled stockpot with a canning jar rack
- Two sauce pans (I use a 2qt and a 4qt)
- Tongs
- Oven Mits (unless you like burning your hands)
- A BUNCH of clean dish towels
- A wooden spoon
- A ladle
- A funnel
- A sharpie for labeling jars when they cool
(You can also buy a canning kit like this which has a bunch of the tools you will need and is really handy. You won’t be mad I promise).
Step One: Wash all of your mason jars, lids and rings. Make sure they’re nice and sparkly clean.

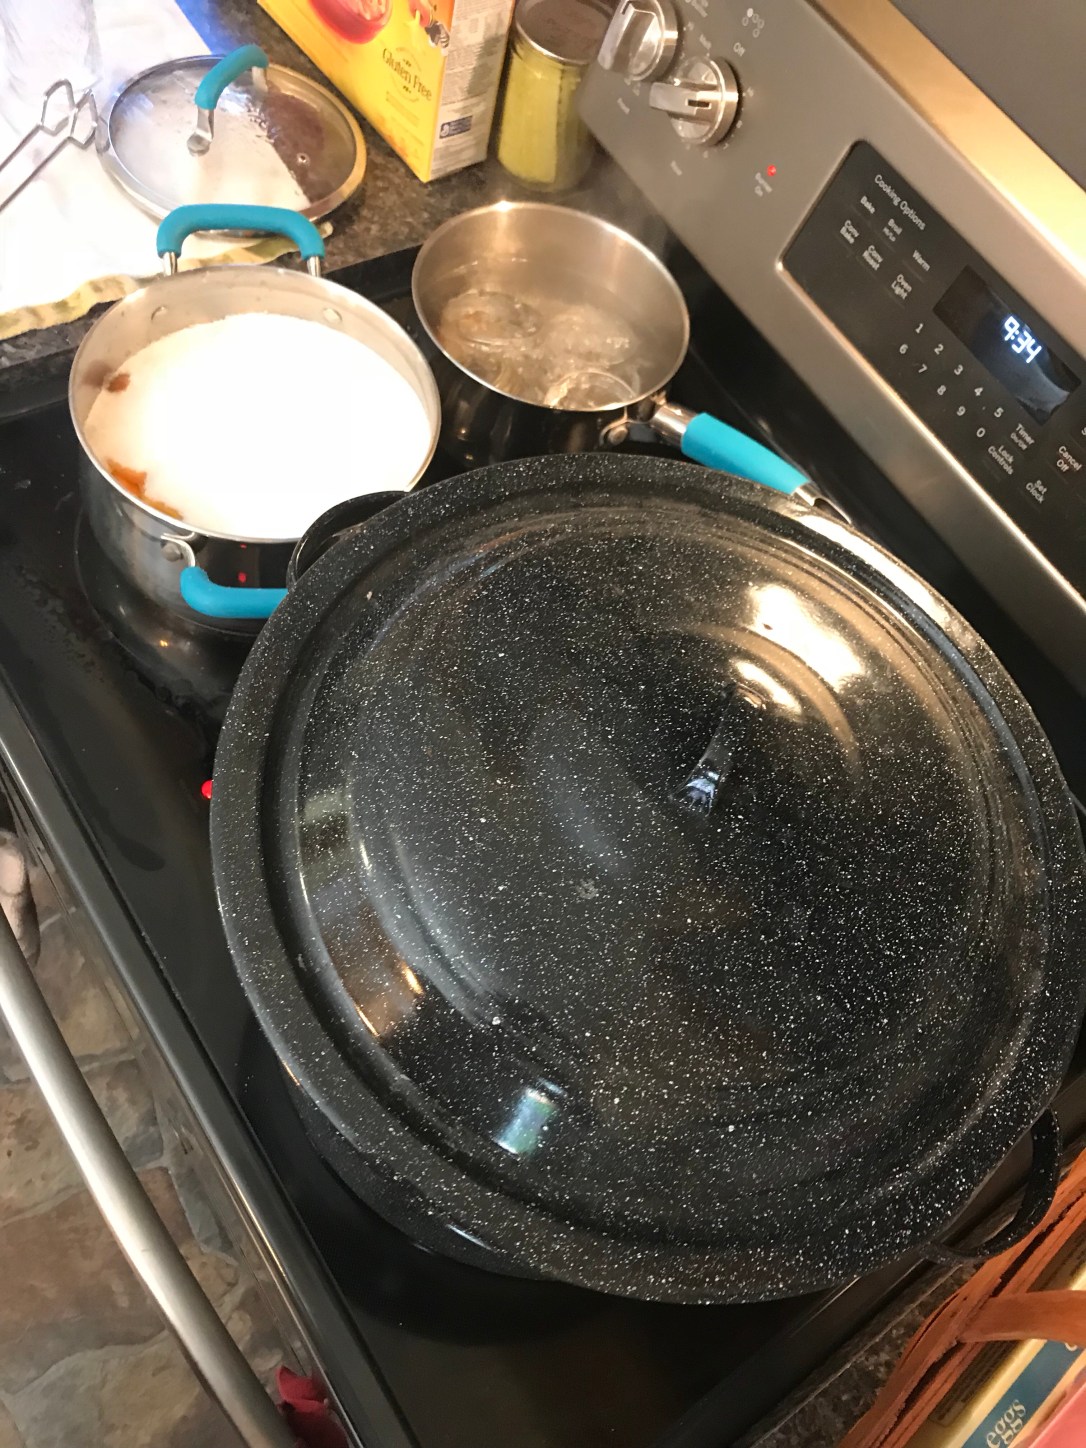
Step Two: fill your Enamel Stockpot about 3/4 full with water and turn it on to bring it to a boil. I recommend using hot water or else it will take probably 37 years to boil (okay, maybe not quite that long. It will take a long time though). Also fill your 2 quart sauce pan with water and bring to a boil.
Step Three: Prepare your fruit. You can also do this before you wash dishes, but I worry about bugs landing on my fruit while I work so I usually do it here.

Step Four: Sanitize your jars, lids, and rings. First do your jars. Let them each boil in larger saucepan for up to 10 minutes. Use the smaller of the two sauce pans for this. When you take them out, set them upside down on a clean dish cloth. Then boil the rings for a couple minutes. Finally put the lids in the boiling water and turn off the burner. I also like to sanitize my funnel and my tongs here.
Step Five: Make your jam! Follow the directions. Usually you add all of the fruit, sugar, and a little slice of butter and bring it to a boil. Then you add the pectin and boil for a minute, but if your directions say something different, do that instead.

Step Six: Ladle your jam into the jars using the funnel to keep it neat. Once they’re all full (within 1/2-1/4″ from the top of the jar) Wipe down the rim of the jars to make sure there is nothing keeping them from sealing properly using a damp paper towel. put your lid on and secure tightly with a ring. If you have a partially full jar at the end, just make sure you stick it in the fridge and use it within a couple weeks.
Step Seven: Put it in the canning stock pot. When you put it on the canning rack to put in the pot make sure your jars are spread evenly. If you don’t have enough to fill your rack, try to keep the weight evenly distributed. You don’t want jars tipping and falling. Make sure when you lower the jars into the water that the tops are covered.
Step Eight: Let the jars process for the listed amount of time. The Certo packet calls for 5 minutes for jellies and 10 minutes for jams. While the jars are processing, lay out a double layer of clean dish towels on your counter to set jars on. Make sure you don’t have any fans on because that can affect how your jars seal (at least that’s what grandma always told me…).
Step Nine: Let your Jam set up! Once you have removed your jam from the stock pot (use oven mitts or a jar lifter tool like this one) and wiped any standing water from the lids let your jars sit. I usually give them 24 hours before I move them. Once they are cool you can label them with what is in them and the date, that way you know. If you don’t do this, you WILL forget. Trust me.

Step Ten: ENJOY! You worked hard to make your amazing jam, so smear it all over a nice fresh piece of toast and indulge yourself!

